Binary Panel Installation
Please see the Minimum Requirements section in the Panel Overview documentation.
Calagopus Panel comes shipped as a compiled binary file that you can download directly from GitHub.
Getting Started
Prerequisites
This guide assumes you have PostgreSQL and Valkey installed on your server. You can replace Valkey with Redis, although keep in mind that Valkey is much faster than Redis. This guide assume you are using Valkey.
If you do not have PostgreSQL and/or Valkey installed on your server, follow the instructions below depending of your package manager:
To install PostgreSQL, click me to view the guide to add the APT repository, and then install PostgreSQL:
sudo apt update
sudo apt install postgresql-18
Then, start PostgreSQL when the server reboots:
sudo systemctl enable --now postgresqlTo install Valkey, run the following commands:
sudo apt update
sudo apt install -y valkey
Then, start Valkey when the server reboots:
sudo systemctl enable valkey-server
sudo systemctl start valkey-server
Download the binary
Depending on your operating system, select your operating system here:
Run theses commands:
sudo curl -L "https://github.com/calagopus/panel/releases/latest/download/panel-rs-$(uname -m)-linux" -o /usr/local/bin/calagopus-panel
sudo chmod +x /usr/local/bin/calagopus-panel

calagopus-panel version
Database Configuration
You will need a database setup and a user with the correct permissions created for that database before continuing any further. To do so, first login to PostgreSQL:
Run this command:
sudo -u postgres psqlThen, create the user and database and grant the user all permissions:
CREATE USER calagopus WITH PASSWORD 'yourPassword';
CREATE DATABASE panel OWNER calagopus;
GRANT ALL PRIVILEGES ON DATABASE panel TO calagopus;
exit
Configure Environment Variables
Before starting the Panel, you need to configure the environment variables. By default, the .env is not included in the package, you can download it manually by running the following commands:
mkdir -p /etc/calagopus
cd /etc/calagopus

curl -o .env https://raw.githubusercontent.com/calagopus/panel/refs/heads/main/.env.example
ls -lha # should show you the .env file
Edit the .env with your preferred text editor and modify the environment variables as needed. See the Environment Configuration documentation for more details on each variable. Make sure to configure PostgreSQL/Redis and your app encryption keys in the .env file.
To set the DATABASE_URL variable, replace the value below with your own values, for example: calagopus is the user, yourPassword is your user's password, and panel is your database name:
DATABASE_URL="postgresql://calagopus:yourPassword@localhost:5432/panel"REDIS_URL can stay to the default value redis://localhost, unless Redis is on another server, where you will have to modify this string.
If you are using Windows or on a server where installing Valkey/Redis is impossible, remove the line entirely.
You can use this script to set the APP_ENCRYPTION_KEY variable to a random value:
RANDOM_STRING=$(cat /dev/urandom | LC_ALL=C tr -dc 'a-zA-Z0-9' | fold -w 16 | head -n 1)
sed -i -e "s/CHANGEME/$RANDOM_STRING/g" .env
Test the configuration
To test the configuration, you can run:
calagopus-panelIf everything works correctly, the panel should not show any errors and will start the HTTP server, in which case you can kill the panel with Ctrl-C.
Install Panel as a Service
This guide will depend on your operating system. Please select your operating system below:
To ensure that the panel starts automatically on system boot, you can install it as a systemd service. Create a new service file by running:
calagopus-panel service-installThis will also start the service and enable it to start on boot. To check the status of the Panel service, you can run:
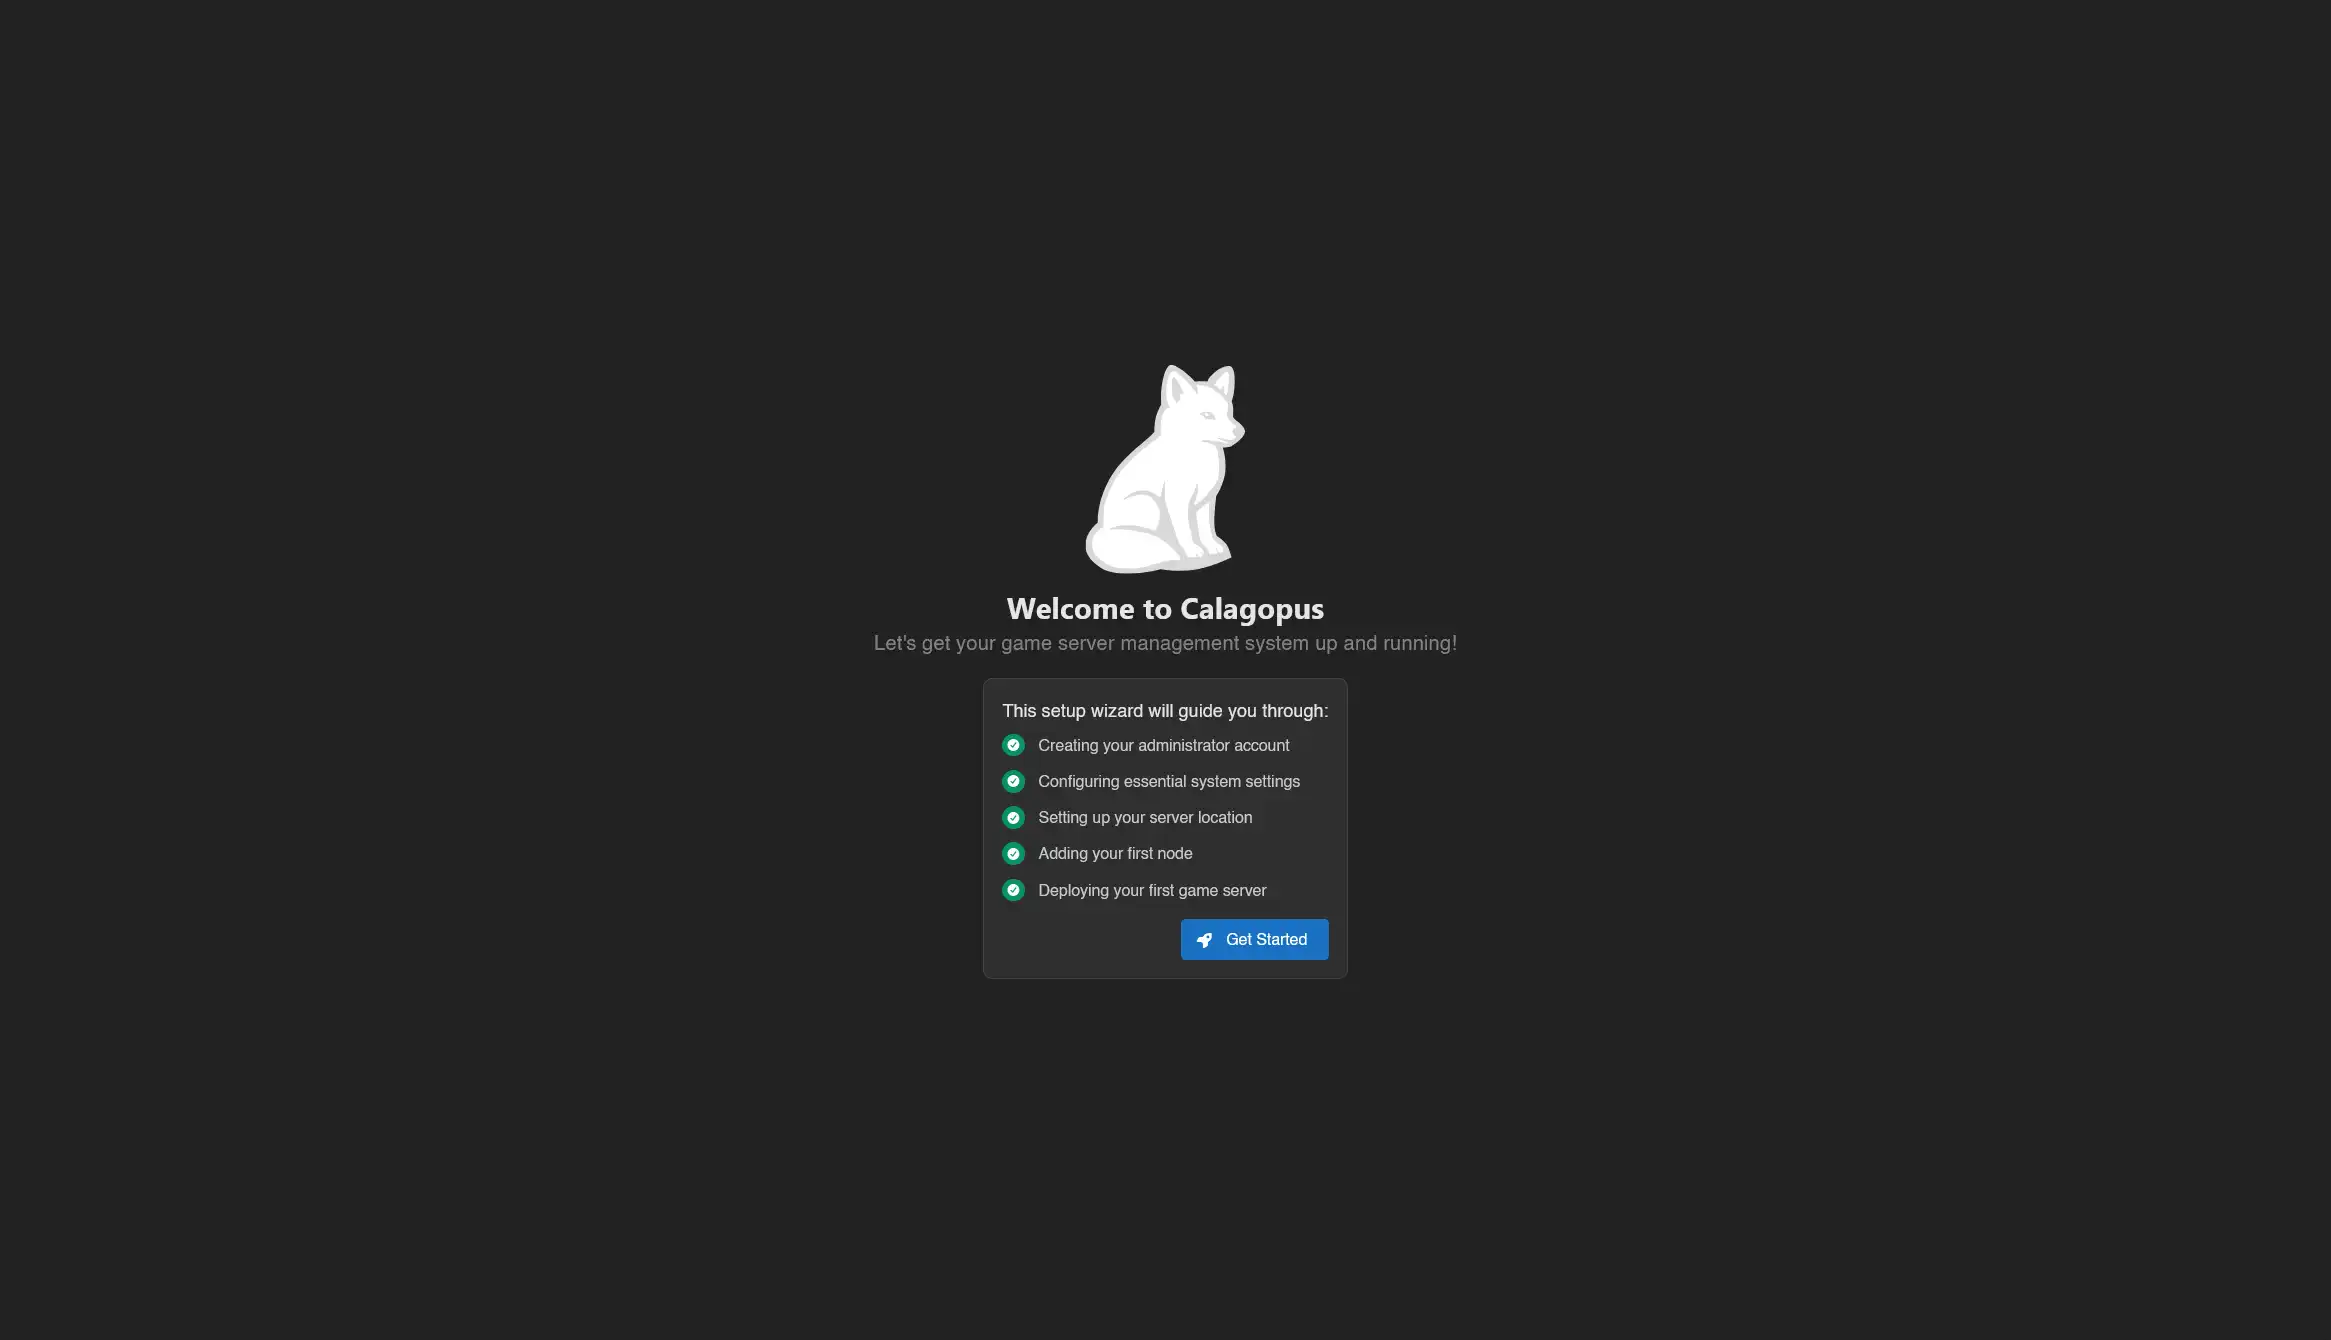
systemctl status calagopus-panelIf everything went well, you should be able to access the Panel by navigating to http://<your-server-ip>:8000 in your web browser and see the OOBE (Out Of Box Experience) setup screen.